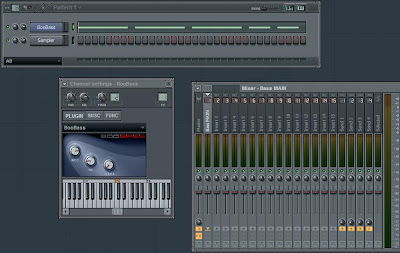
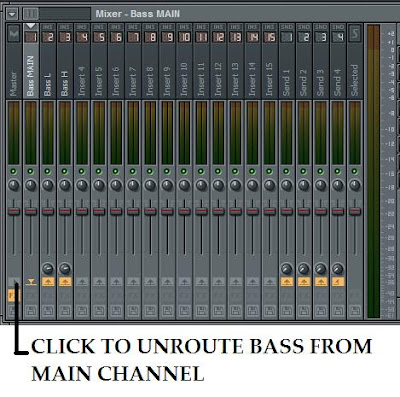
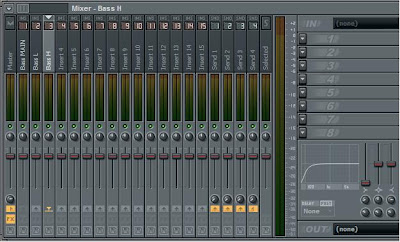
Step 1: Route kick and bass to seperate mixer channels and assign a Parametric EQ2 in the FX slots of each. By pressing play you can see which frequencies are dominant on the kick, and now we enhance them.

Step 2: Here I have boosted certain frequencies of the kick using the EQ, notice the roll-off at each end of the spectrum. Also note that I havent rolled off the kick too early, as it still has some harmonics that are rather high, without these the kick sounded hollow.

Step 3: Line up both EQ2's so that you can compare their frequencies and press play so that you can get an idea of the frequency ranges used.

Step 4: Here I boosted the bass's frequencies AROUND the area I boosted the kick, if you boost the same areas they will conflict with each other, using this method the bass punches through the bass, resulting in a nice solid thump.
Notice the early roll-off on the bass's EQ, for this example I only wanted to use low end harmonics so that you can hear the difference easily.

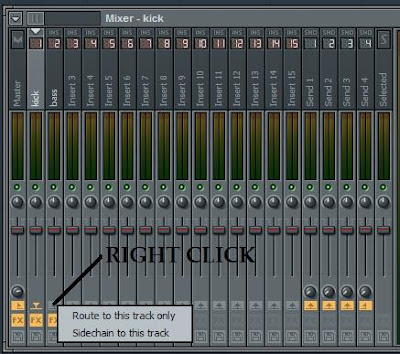
Step 5: To sidechain the bass with the kick, select the kicks mixer channel, the instead of routing it to the basses channel, you right click on the bass channel routing button and select "side chain to this track)
Step 6: Apply a Fruity Limiter to the bass channel, there are now three simple steps left

Step 6: Apply a Fruity Limiter to the bass channel, there are now three simple steps left
2: Select the channel to be sidechained from
3: Adjust the gain/threshold/ratio limits
Simply adjust the levels till u can notice the bass starting to pump around the kicks.
You can also adjust the attack and release levels to fine tune the effect.

